How to photograph jewellery
For many years I had a photographer who did all my photos. She's a fantastic photographer (particularly of children - check her out!) but it was tricky using her, because we would book a time, then the sun wouldn’t come out, or one of children was ill, or I would get a couple of rush orders, so a few years ago I decided I had to bite the bullet and take them myself. Luckily I did do photography as part of my graphic design degree (way back in the 80’s!) and so I knew the basics, and I do also have ‘an eye’ for composition and styling as I had to do a lot of this in my first two jobs in publishing.
But here to start? My husband, a furniture designer, (check him out too!) had some of the kit needed to take photos, but funnily enough it wasn’t all suitable for photos of tiny pieces of shiny metal! So here’s what you do need...
Decent digital SLR camera
Macro lens
Some small props
A photoboard as a base (from Lyndsey James)
White sheet
Sunshine
Patience
Our house faces north-east at the back and south west at the front. This means that there’s an hour or so in the morning where I can take photos at the back of the house, and a couple of hours in the afternoon where I can take photos at the front of the house. FYI - morning sun is ‘bluer’, and afternoon sun is ‘yellower’. For jewellery you want the blue light ideally.
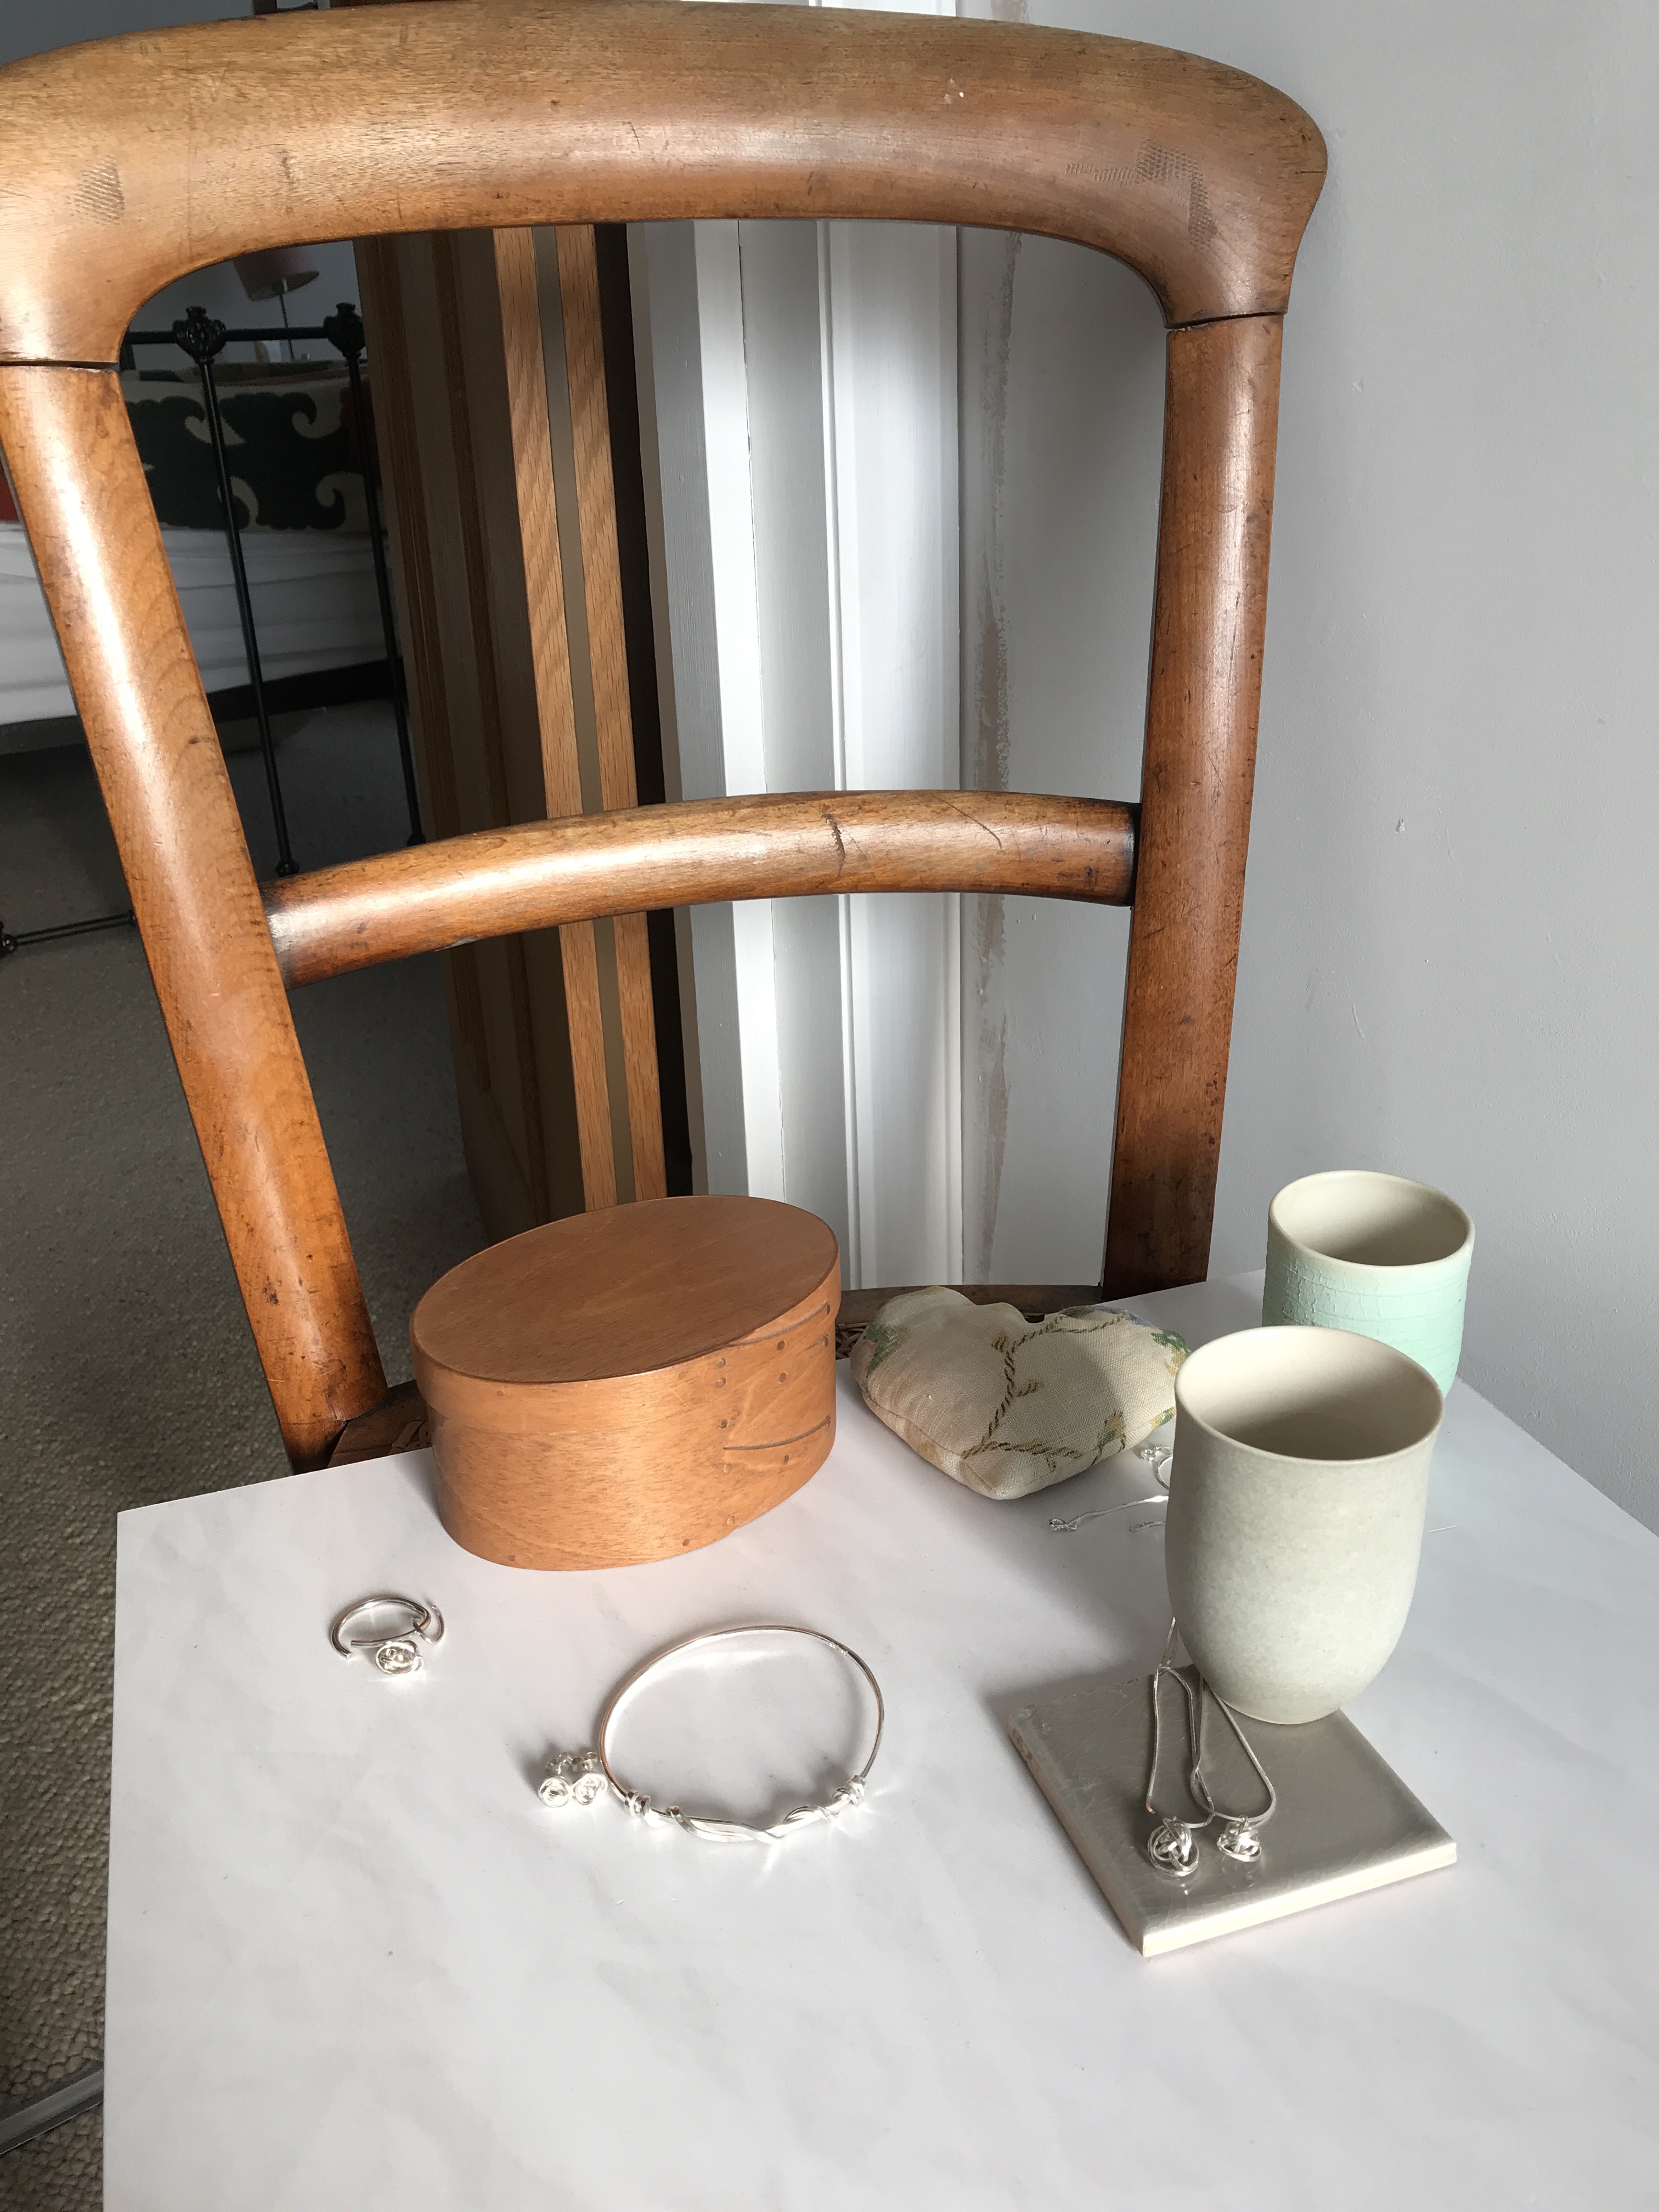
Here's this morning's set up!
You can of course use flashes and photo boxes or light boxes, but nothing beats sunshine! I do have a flash that can go on a stand with one of those umbrellas that reflect the light back, but boy are they a faff! And obviously the light looks less natural.
I have everything set up permanently in my spare room, and I move the whole lot to where the sun is! You can’t take photos of jewellery in direct sunlight of course as the glare will make the metal bleach out in the photo. You can’t take it in shadow as the metal then looks dull... so, the best option is to take the photo next to a patch of strong sunlight, and use a reflector (this is where the sheet comes in!). Or hang the sheet in the window so it softens the direct sunlight. The set up above is on my landing, with direct sunlight coming through a frosted window which also works.
Props are so tricky; they need to be small, if you want part of them in the picture. These help to give an idea of scale too, but they can’t be dark, detailed, distracting - all of these will take away from what you want the viewer to focus on. And of course if they are a strong colour, they'll reflect in the silver!

So it’s rather a lot of trial and error frankly but in short - a decent camera and lens, a few good props, go in as close as possible (though you can always crop later), no direct sunlight, and lots and lots of patience!
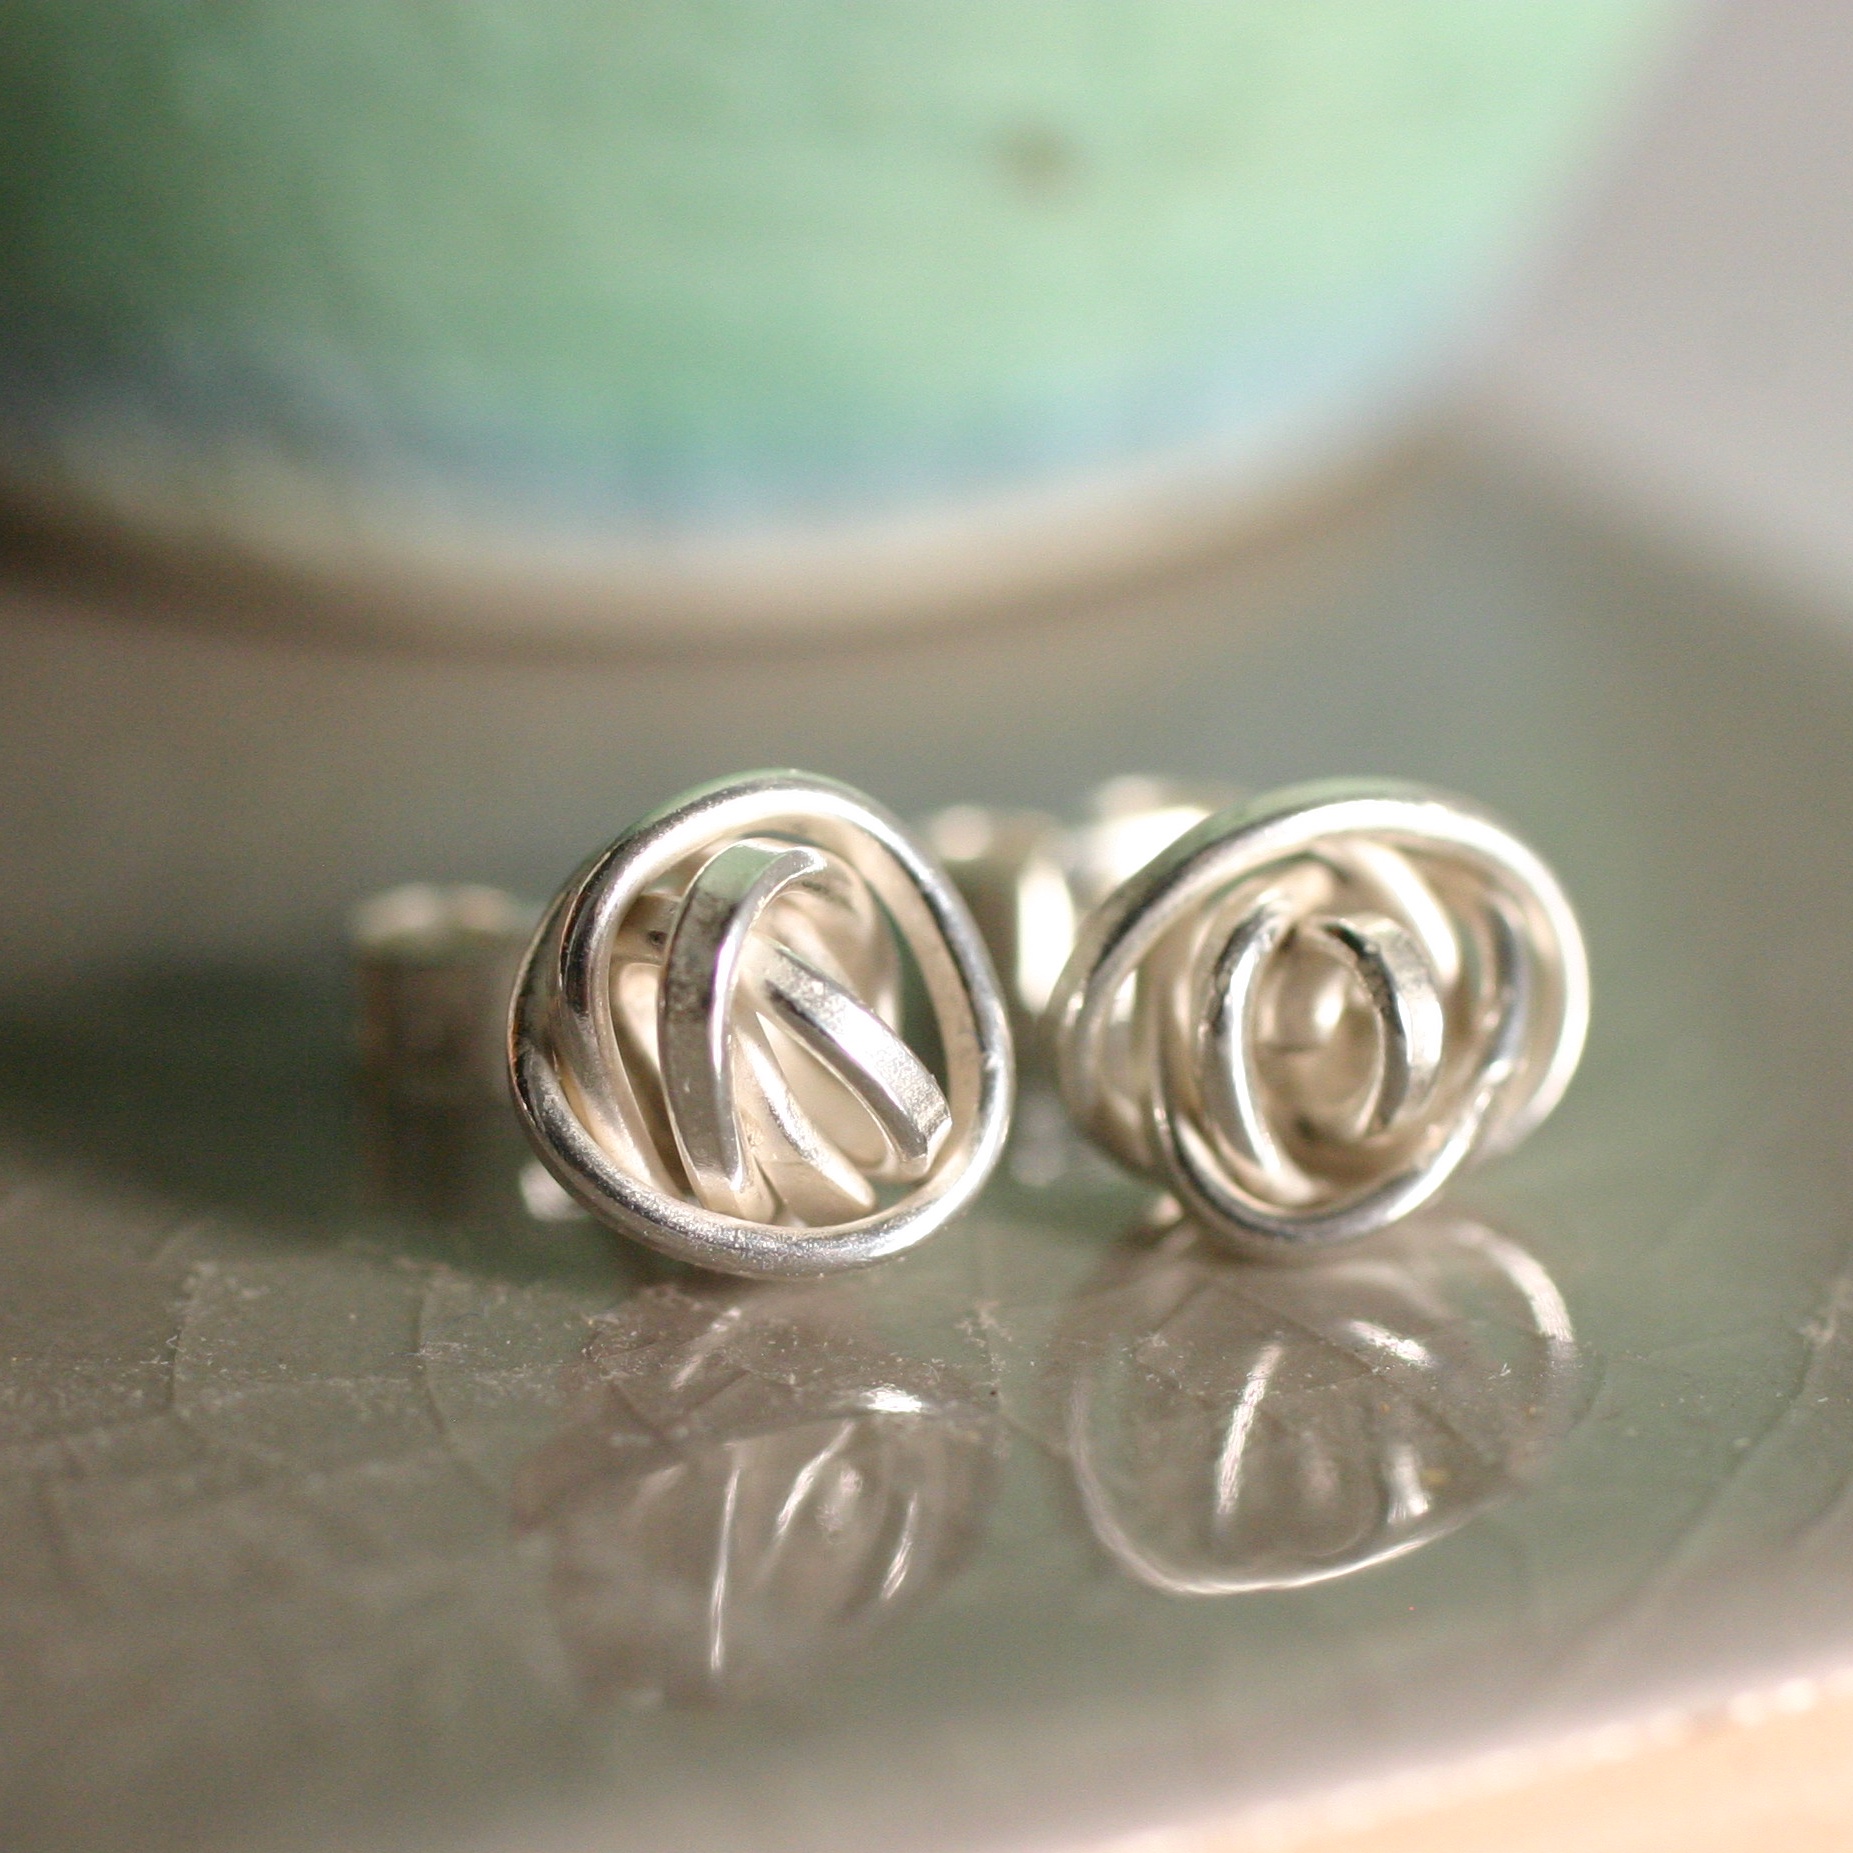
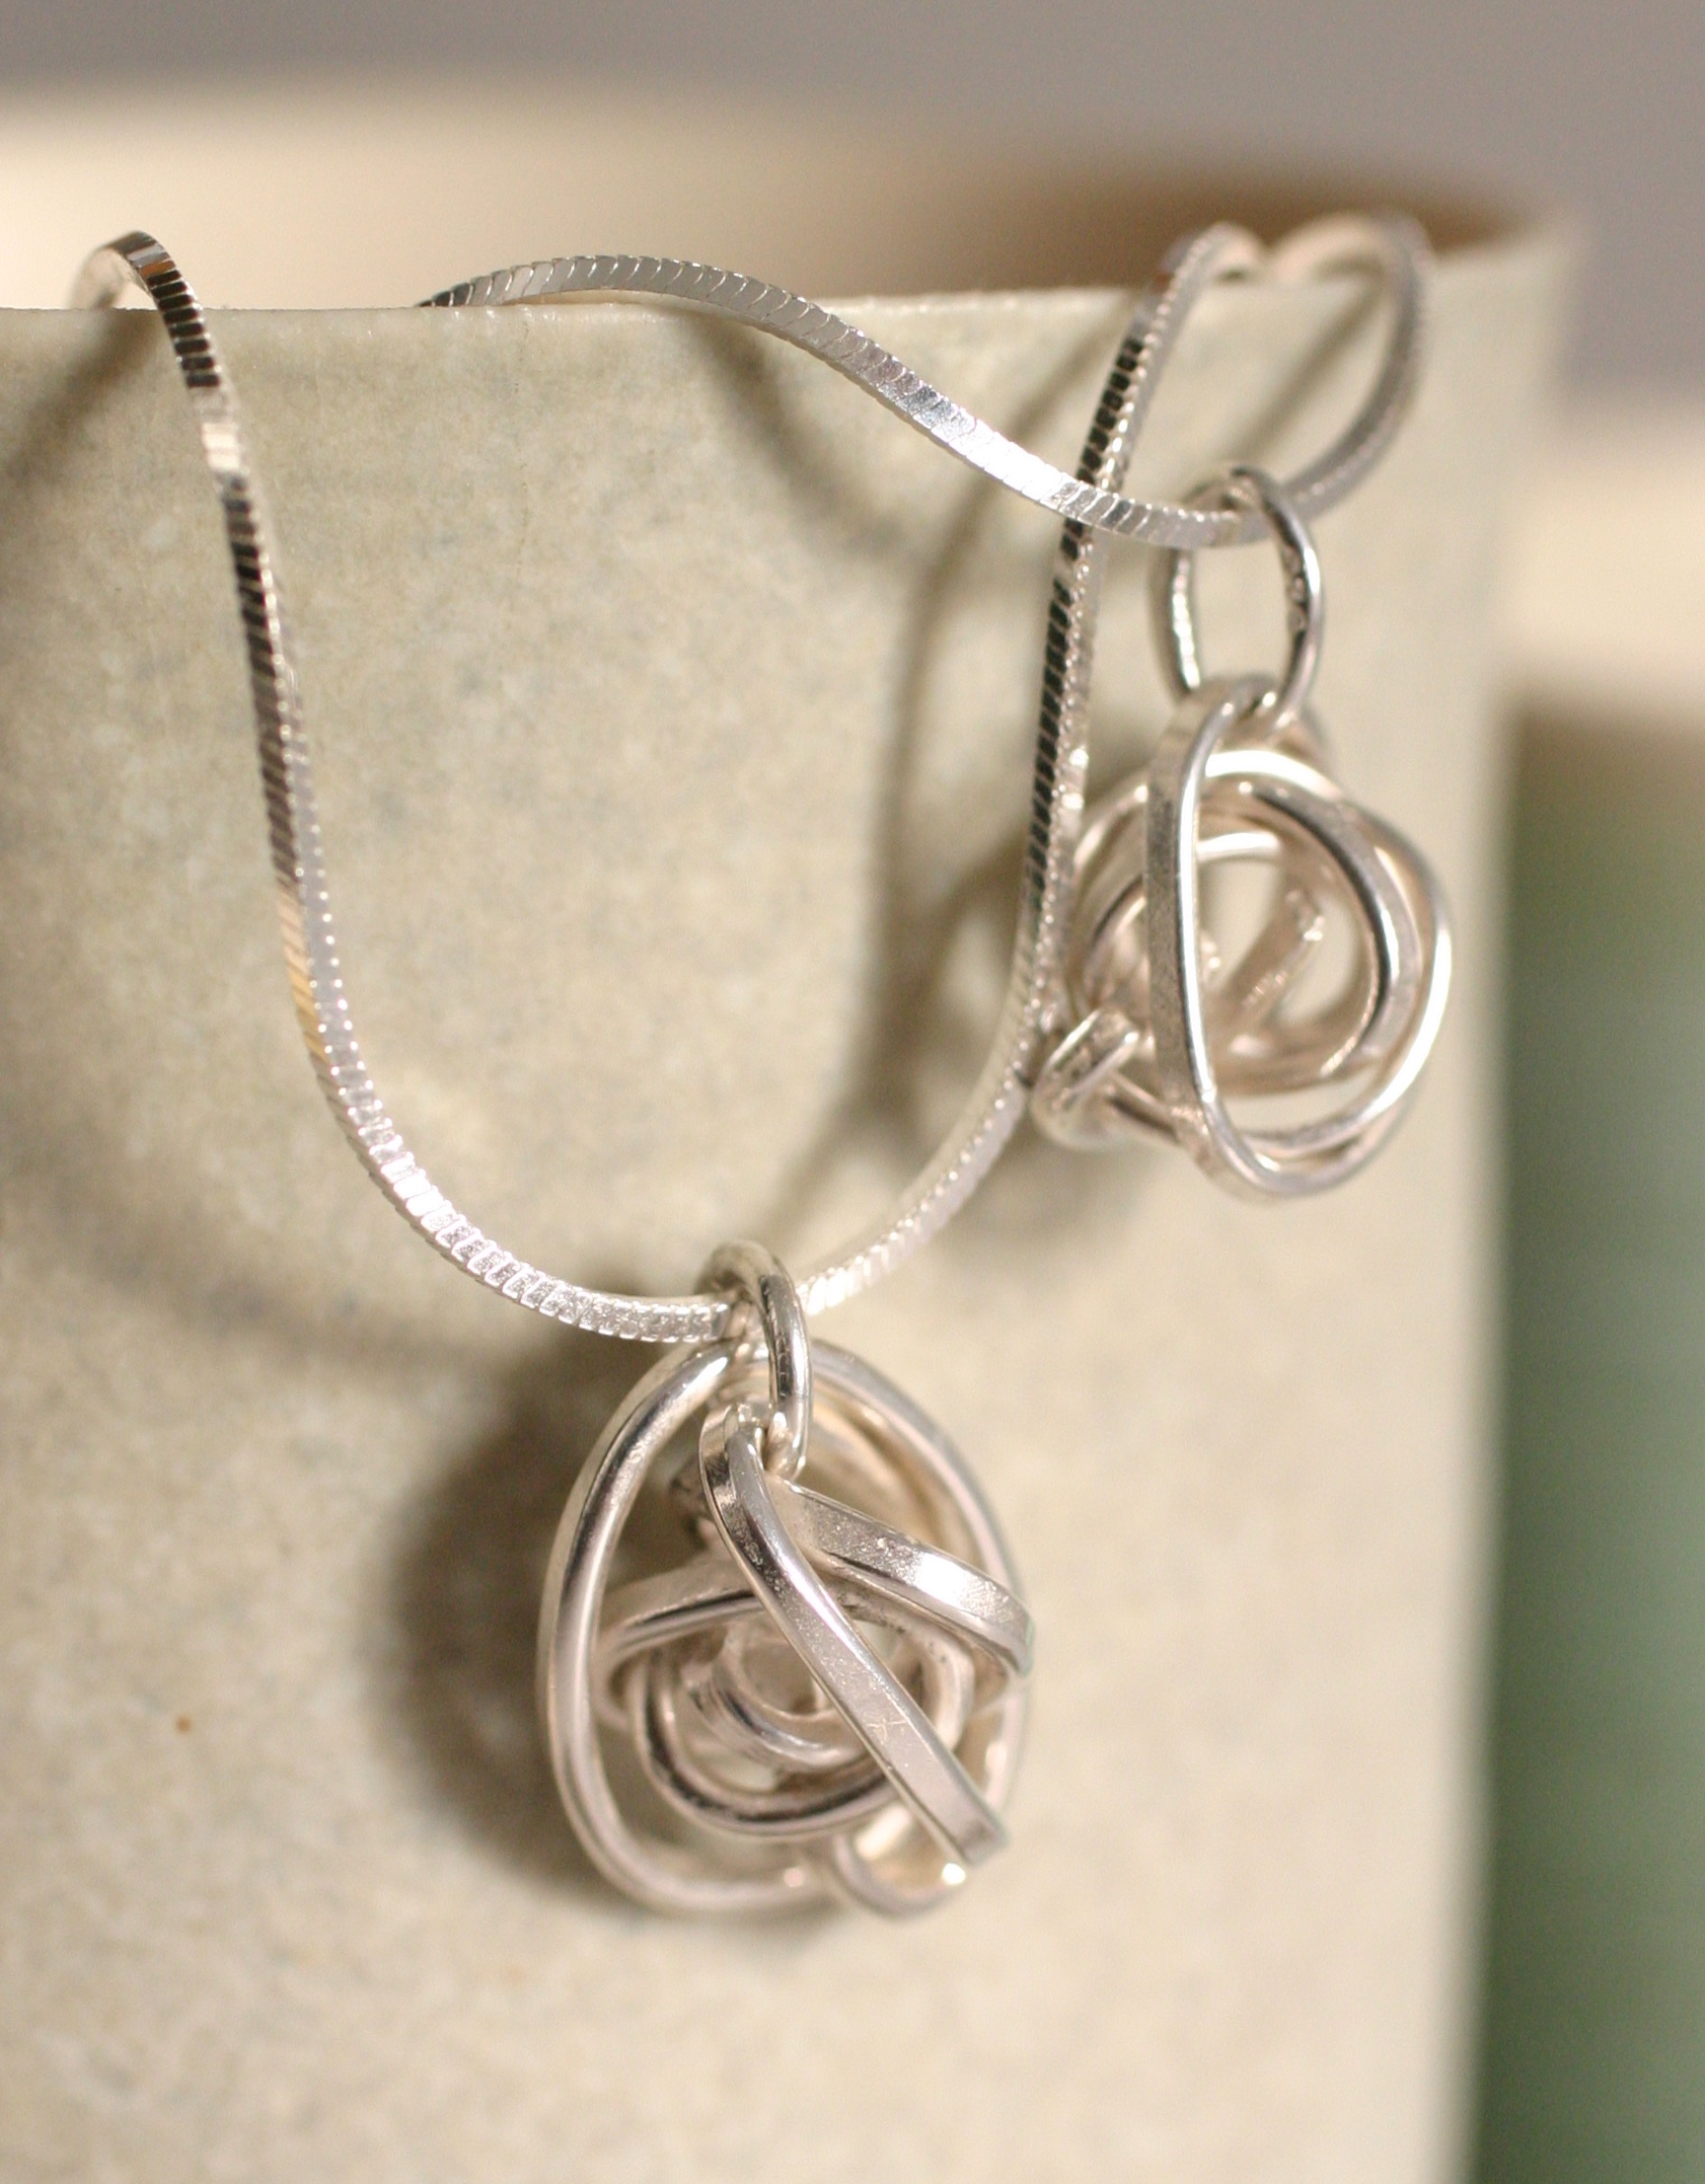
Click on photos to go to the product listings.
about the author
After almost 20 years as a designer in children's publishing a short silversmithing course in 2006 prompted a change of direction.
The following year I enrolled on a part-time jewellery course, and found a local studio where I could make and sell my work.
In 2009, together with five other crafts people we found a shop space to rent on our busy local high street, the gloucester road, called Fig. We are open tuesday - saturday, 9.30am - 5pm (except August).
archive